It’s a big investment to purchase a high performance cooler, and you may have many questions before you do. Fortunately, this collection of Pelican cooler FAQs is here to help. You’ll learn how much ice to use in a Pelican cooler, which bear proof coolers are made by Pelican, and all about Pelican cooler replacement parts. Find the answers you need now, so you can start enjoying your Pelican cooler!
- What is pre-chilling and will it impact my Pelican cooler’s ice retention?
- How do I know how much ice to use in my Pelican cooler?
- Can I use dry ice to extend my Pelican cooler’s ice retention?
- What effect will the color of my Pelican cooler have on its ice retention?
- Does Pelican make bear proof coolers?
- How can I get Pelican cooler replacement parts?
- Why are Pelican cooler replacement parts available for sale on EliteCooler.com?
- Why does the gasket in my Pelican cooler have a gap in it?
- Is my Pelican cooler watertight?
- My Pelican Elite Cooler has a leaking drain plug. What can I do?
What is pre-chilling and will it impact my Pelican cooler’s ice retention?
Pre-chilling is the process of cooling the insulation in your cooler down before you use it to increase your cooler’s efficiency and ice retention. Pre-chilling means you’ll get the best performance from any high performance cooler, but a Pelican cooler’s ice retention will be especially boosted.
Think about it like this: coolers don’t make cold; they maintain cold. And the way they do this by using thick layers of polyurethane foam to store thermal energy. Most Pelican Elite Coolers have a 2” thick, continuous layer of polyurethane foam (smaller coolers, like 14QT Personal Cooler & Dry Box or the 20QT Elite Cooler, have a thinner layer of foam due to their size). When you’re storing your cooler between uses, this foam is maintaining the thermal energy of its surroundings. So a cooler you’ve been keeping in the garage doesn’t start out cool, it starts out garage temperature, and in the summer that can be HOT.
To pre-chill your cooler, bring it inside 12–24 hours before you plan on using the cooler and fill it with sacrificial ice. This ice will melt, and this phase change from solid to liquid will absorb the thermal energy within the cooler, which will in turn cool down the polyurethane foam of your cooler. Once your cooler is pre-chilled, you can empty out the meltwater and pack up your cooler knowing you’ve prepped it to get the best performance possible.
How do I know how much ice to use in my Pelican cooler?
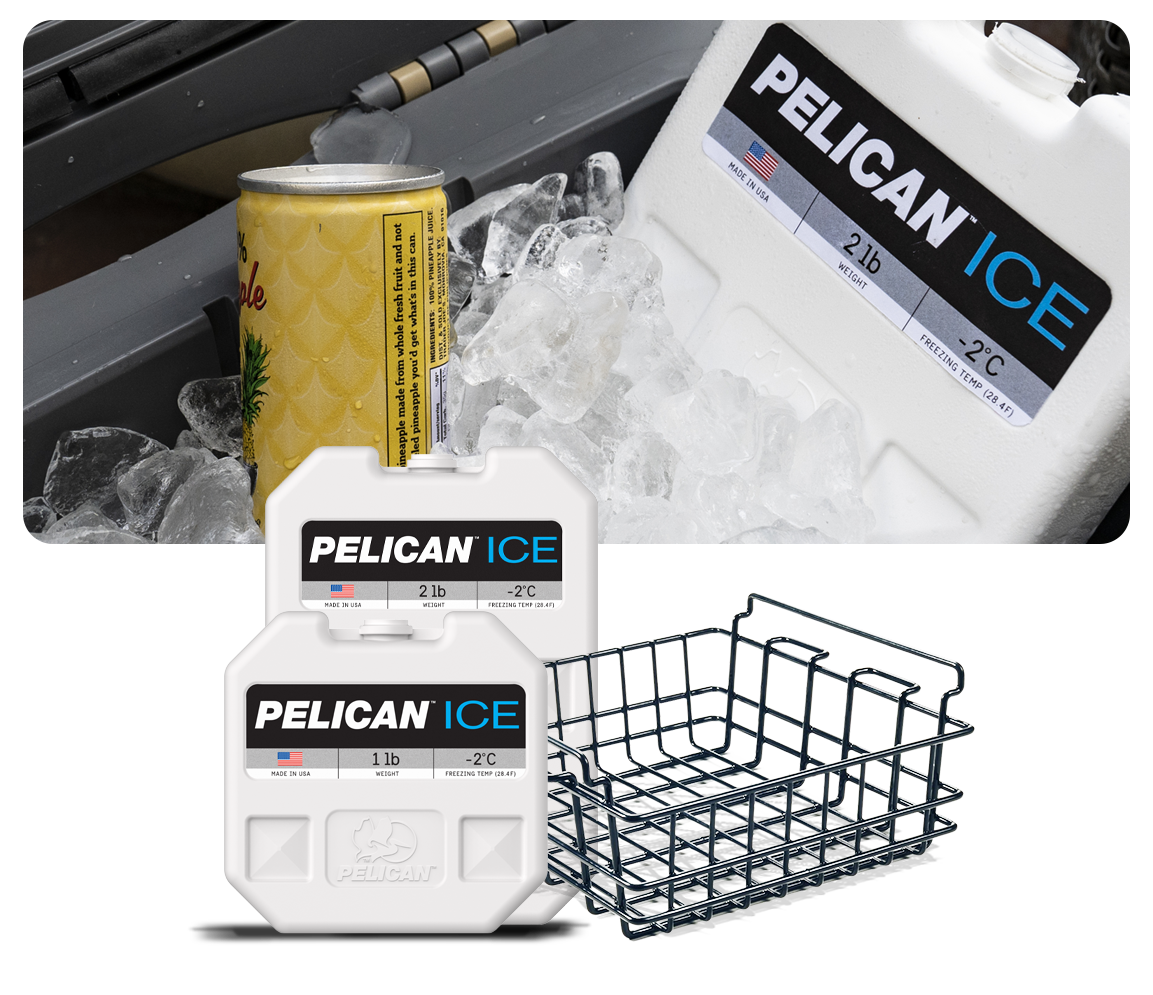
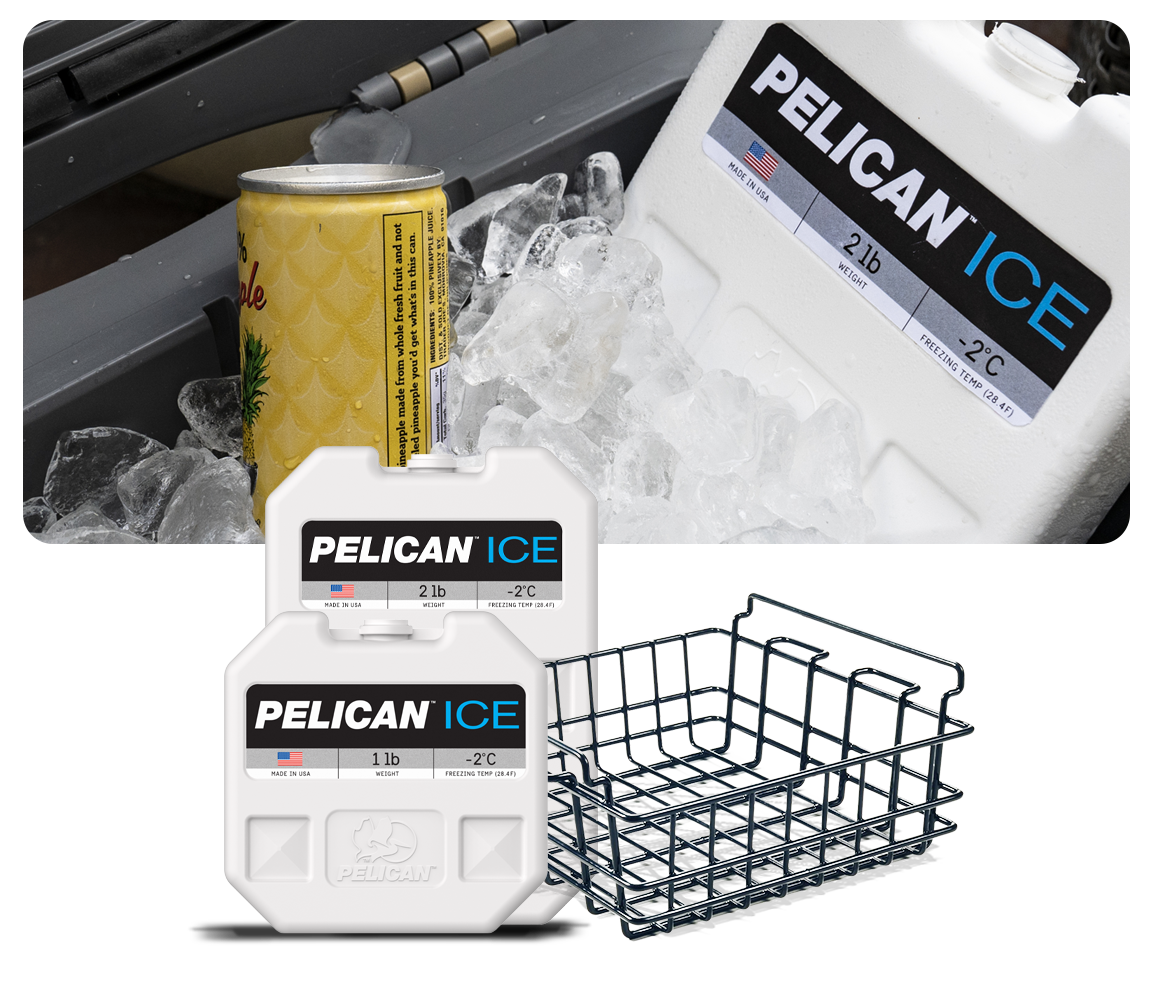
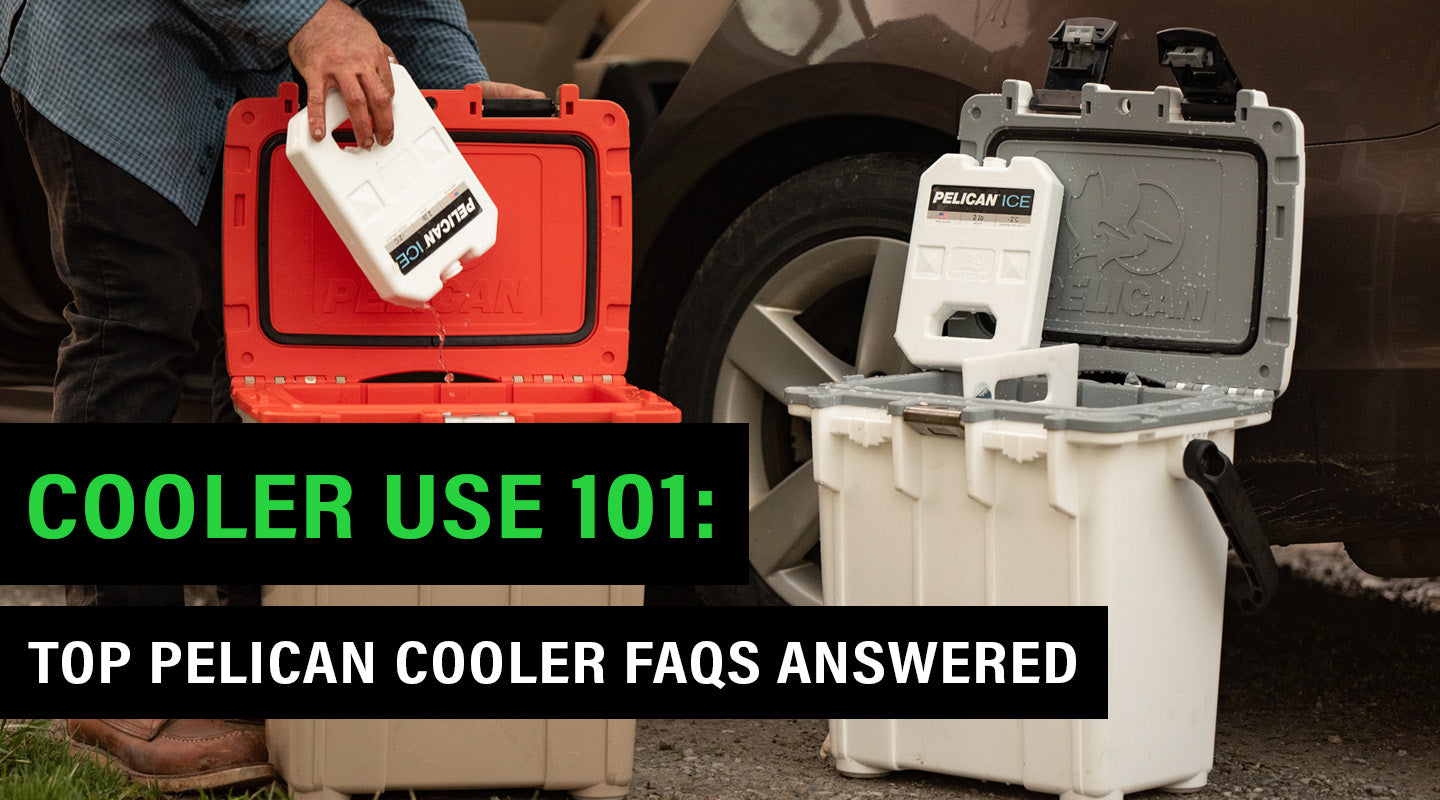
Use twice the amount of ice to goods you’ll keep in the cooler in order to get the best performance from your Pelican cooler. This ratio of ice to goods, usually referred to as the 2:1 ice ratio, is the standard recommended across the high performance cooler market. To achieve this ratio, a combination of block ice and cubed ice is the best way to go. Block ice, or a reusable Pelican Ice pack, is compact and melts slowly, extending your Pelican cooler’s ice retention. Cubed ice is great for filling in gaps between your goods and topping off the cooler; remember that less airflow inside the cooler means longer ice retention. Knowing how much ice to use in your Pelican cooler is the key to getting the best performance, and now you have all the knowledge you need!
Can I use dry ice to extend my Pelican cooler’s ice retention?
Yes! Dry ice is a great way to extend your Pelican cooler’s ice retention. In fact, using dry ice in a hard-sided Pelican cooler will create the ultimate deep freeze.
All hard-sided Pelican coolers are designed with a gap in the gasket that acts as a pressure release. Usually this is just to make it easier to open your cooler, but when you’re using dry ice in your cooler it also allows carbon dioxide gas to exit the cooler as the dry ice sublimates. If you’re using a cooler that doesn’t have a gap in the gasket (like the first generation Pelican Elite Coolers or another high end brand like YETI or RTIC), you are going to want to create a vent for the carbon dioxide to escape. People will often leave the drain plug open.
To create a deep freeze in your hard-sided Pelican cooler, you’ll want to use cooler lasagna modified with dry ice at the bottom. First, create a barrier to keep the dry ice from coming into direct contact with your cooler—a folded towel, layer of cardboard, or even a few paper grocery bags should do the trick. Next add your dry ice, and then another insulating layer of more towels, cardboard or paper bags. Now you can add regular block or cubed ice and start building up the layers of your cooler lasagna. The dry ice can be factored into the amount of ice you use in your cooler, but it shouldn’t change how much ice you use. Make sure to keep following the 2:1 ice ratio.
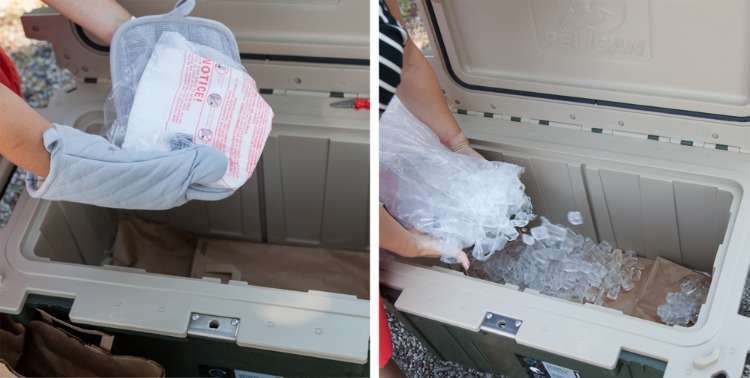
Remember to use dry ice safely!
- Do not handle dry ice directly. Use protective gloves or oven mitts when handling dry ice.
- Ventilation is a must! Roll down your car windows to avoid a dangerous buildup of carbon dioxide gas.
- Most importantly, DO NOT use dry ice in Pelican soft coolers. These coolers are designed to be leak-proof and the buildup of gas inside them could cause an explosion.
What effect will the color of my Pelican cooler have on its ice retention?
Hard-sided Pelican coolers come in a wide variety of colors, and so it makes sense to wonder what effect the color will have on a Pelican cooler’s ice retention. The simple answer is that yes, the color of the cooler will have an effect on its ice retention, but that effect isn’t going to be particularly large. Let’s break it down a little bit.
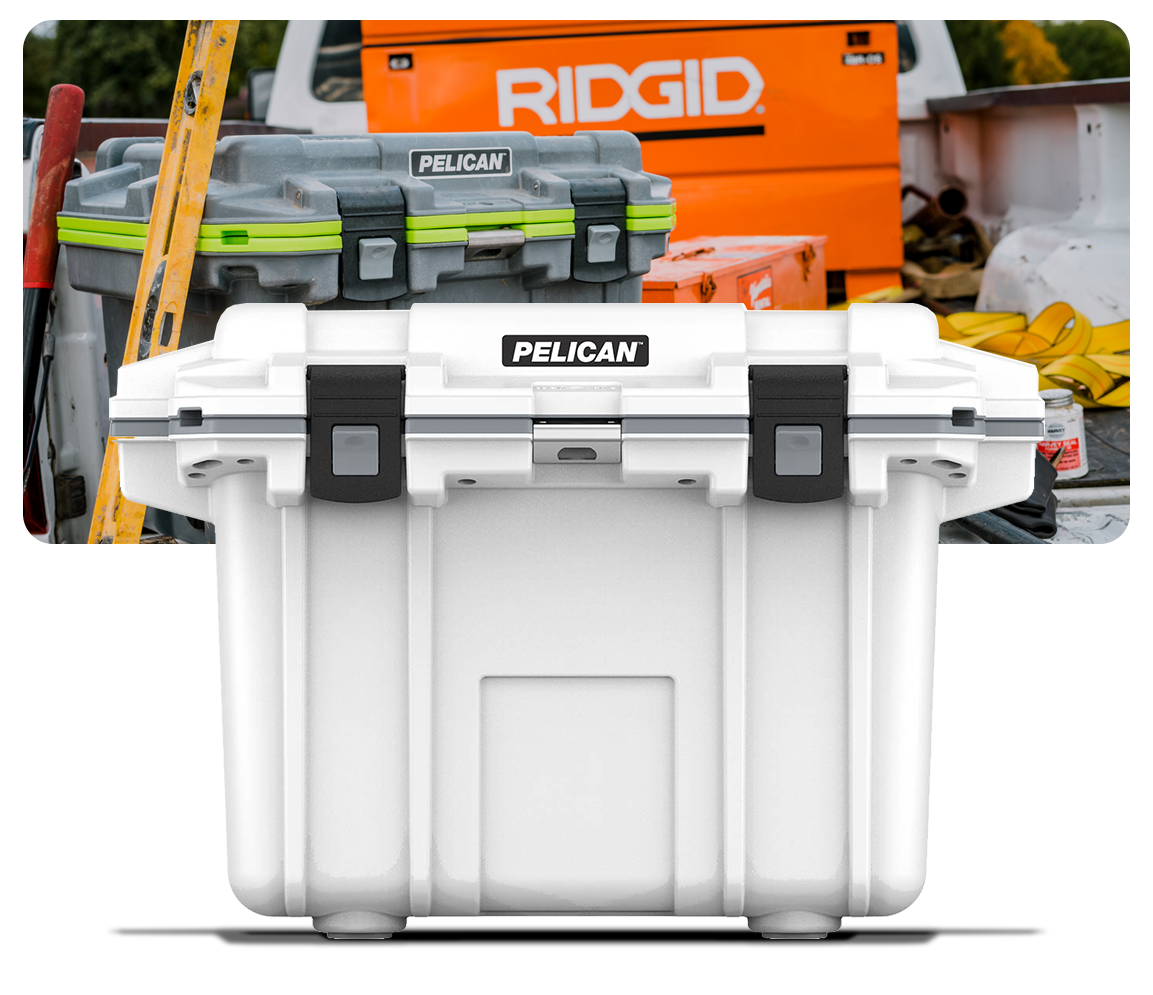
Objects get their colors based on the wavelengths of light that they either reflect and absorb. A dark grey/green 50QT Elite Cooler is going to absorb more wavelengths of light, which are then converted into heat. A white/grey 50QT Elite Cooler is going to reflect more wavelengths of light and therefore convert less light into heat. So that means the dark grey/green cooler will be warmer, which will cause the ice inside to melt more quickly.
However, the color of the cooler isn’t the only thing at play in this situation. How much ice you use in both coolers will be the same, and they both have the same amount of polyurethane insulation. So while the darker cooler may convert more light into heat, the impact of this additional heat is minimal, only a matter of hours. When your 50QT Elite Cooler is capable of holding ice for as long as seven days, a couple of hours isn’t going to break the bank. You can also mitigate the effect of the color of your cooler by keeping it in a shaded area when you’re using it—under a tree, picnic table or camping canopy for instance.
If you need the absolute maximum ice retention possible, by all means choose a cooler in a lighter color. But if you’re looking for an awesome cooler with great performance, then choose a Pelican Elite Cooler in a color that fits your style. You’ll never be disappointed.
Does Pelican make bear proof coolers?
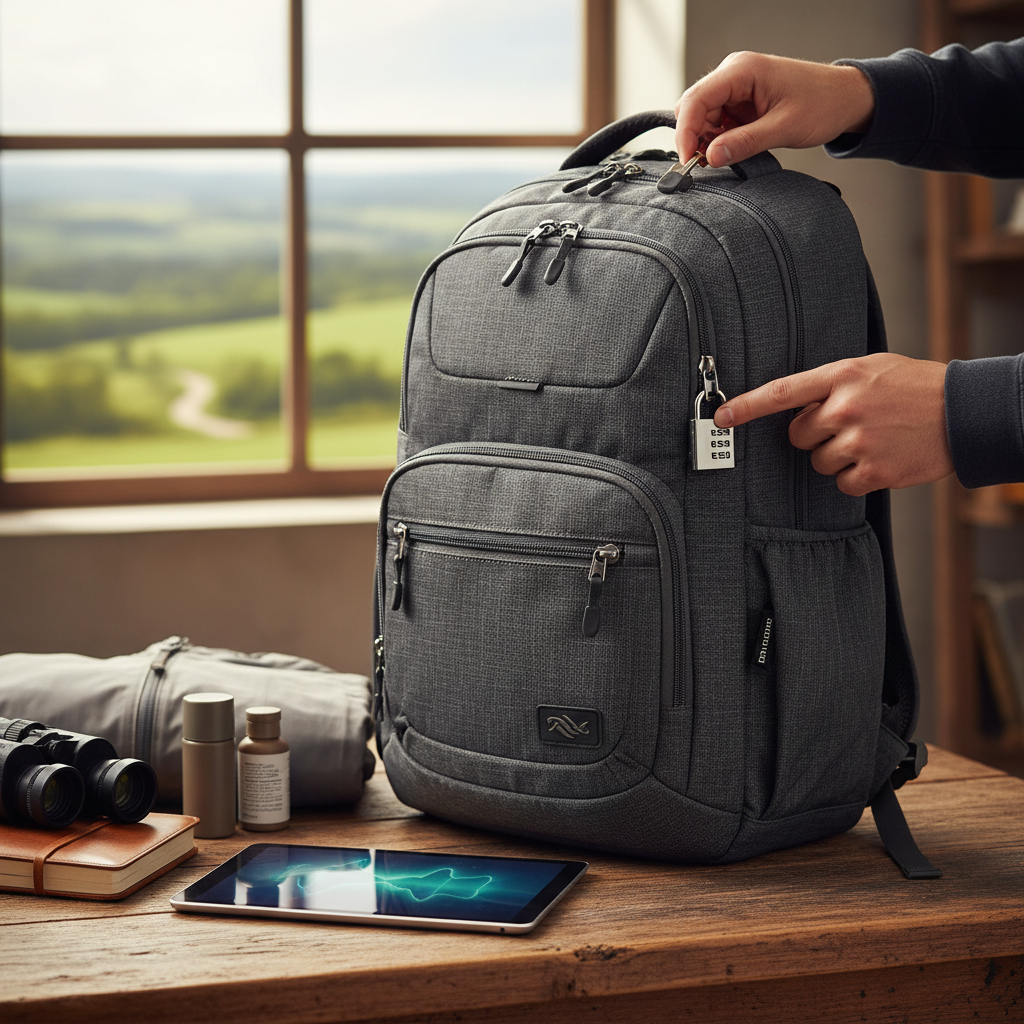
Many high performance coolers are certified bear resistant by the Interagency Grizzly Bear Committee (IGBC), including many of the hard-sided Pelican Elite Coolers. The IGBC puts potentially bear proof coolers to the test by filling them with food that grizzly bears find irresistible and then letting the bears try to break into them. Only coolers that are tough enough to withstand the interest of a grizzly bear for an hour without breaking or coming open are certified bear resistant. Of course, it should be noted that coolers are padlocked shut during testing. So if you need to use a bear proof cooler on your adventures, make sure to get a long shackle padlock, like the one in the Marine Cable Lock 2-Pak.
After plenty of testing, the IGBC has declared that these are the bear proof Elite Coolers:
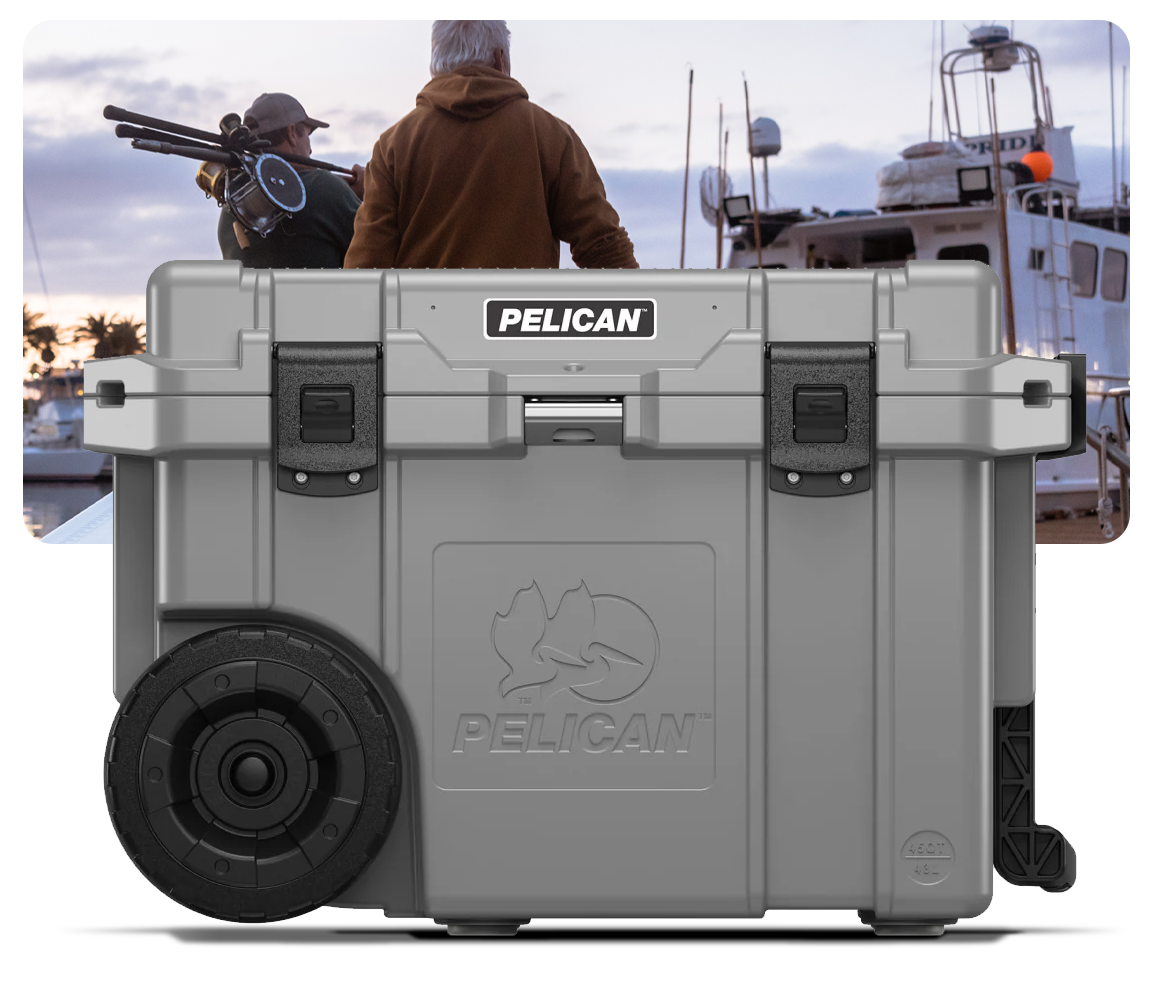
- 45QT Elite Wheeled Cooler (IGBC Certification No. 5030)
- 70QT Elite Cooler (IGBC Certification No. 5086)
- 80QT Elite Wheeled Cooler (IGBC Certification No. 5031)
- 95QT Elite Cooler (IGBC Certification No. 3375)
- 150QT Elite Cooler (IGBC Certification No. 3376)
- 250QT Elite Cooler (IGBC Certification No. 3365)
How can I get Pelican cooler replacement parts?
If you ever need to replace the hardware on your Pelican cooler, there are a couple of easy ways to get the Pelican cooler replacement parts you will need.
You can find many replacement parts available for sale on our site, including latches, drain plug assemblies, gaskets, bottle openers, and feet. Visit our Pelican cooler replacement parts collection to find the part you need. And don’t forget that all orders placed on EliteCooler.com ship for free!
You can also get replacement parts through your cooler’s warranty. In addition to being able to get the replacement parts available on our site, you can also get parts we do not carry, including wheels, handles, hinge pins, and bottle lids. Simply file claim at Pelican's warranty site. Check out our Help Center for more information on how to file a warranty claim.
Why are Pelican cooler replacement parts available for sale on EliteCooler.com?
As Pelican’s top dealer, we were given special permission from Pelican to sell select Pelican cooler replacement parts to our customers for several reasons:
- Some Pelican owners don't have the time to go through the warranty process. We are able to process and ship replacement part orders quickly and offer expedited shipping if necessary.
- For Pelican owners who have limited internet access it can be difficult to file the warranty claim online. You can place an order with us over the phone.
- Very rarely, a Pelican owner will modify their cooler in a way that voids the warranty. By selling replacement parts, we are able to ensure that these folks can continue to enjoy their coolers, however their coolers may be modified, for as long as they own the coolers.
Why does the gasket in my Pelican cooler have a gap in it?
All hard-sided Pelican coolers are designed with a small gap in the gasket to act as a pressure release, making the coolers easier to open when in use. This gap is usually between 1/8″ and 1/4″ and will not affect the ice retention of your cooler. This gap also makes it safe for you to use dry ice in your hard-sided Pelican cooler.
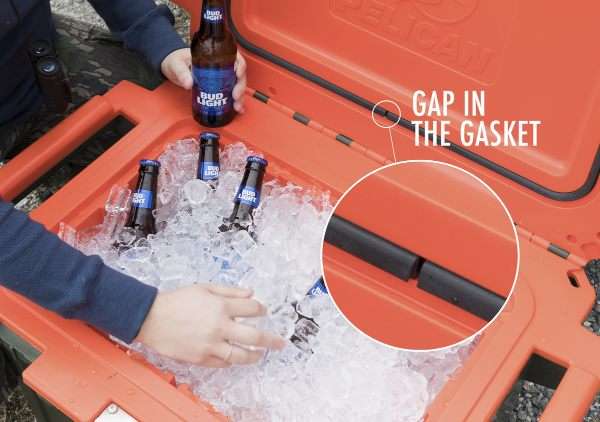
It is simple to fix a gasket with a gap larger than 1/4″. The gasket sits in a groove in the cooler’s lid and can simply be pulled out. Leaving the uninstalled gasket in a warm spot, like a sunny windowsill or by a heat register, will relax the rubber and make it easier to reinstall. Push the gasket back into the groove, being careful to gently stretch it out to make the gap smaller. Be aware that if you close the gap in your cooler’s gasket, you will have to take additional precautions to safely use dry ice in your Pelican cooler.
Is my Pelican cooler watertight?
Hard-sided Pelican coolers are not designed to be water tight. While they use a freezer-grade gasket, they are not intended to be air– or watertight. An air-tight gasket in combination with the cold environment within the cooler would create a vacuum and make it difficult to open the cooler. Pelican cooler owners whose coolers lack this gap have had to use crowbars to open their coolers.
Pelican soft coolers are watertight when zipped fully closed in order to keep them from dripping on you when you’re carrying them. Do not use dry ice with Pelican soft coolers, as they could explode as the dry ice sublimates in the sealed cooler.
Pelican soft coolers are watertight when zipped fully closed in order to keep them from dripping on you when you’re carrying them. Do not use dry ice with Pelican soft coolers, as they could explode as the dry ice sublimates in the sealed cooler.
My Pelican Elite Cooler has a leaking drain plug. What can I do?
Pelican performs a visual inspection of all coolers at the end of the manufacturing process to ensure the coolers are of the highest quality. Unfortunately, a visual inspection is not always able to catch something like a drain plug that isn’t tight enough. The good news is that tightening your drain plug is pretty simple.
Tools required:
- T20 Torx screwdriver
- flat head screwdriver
- hammer
1. Unscrew the free-spinning drain cap. Remove the anti-rotation screw using the T20 Torx screwdriver. Set drain cap and anti-rotation screw to the side.
2. Tighten drain plug assembly:
- Insert flat head screwdriver into one of the notches in the drain collar. Tap screwdriver with hammer to turn drain collar in a clockwise direction.
3. Test drain plug assembly:
- Screw free-spinning drain cap onto drain collar. Fill cooler with enough water to cover entire drain plug assembly. Tilt cooler up and leave for fifteen minutes. If a leak occurs, tighten drain plug assembly and retest.
4. Install free-spinning drain cap
- Remove free-spinning drain cap from drain collar. Align washer at the end of the tether with anti-rotation screw hole in drain collar; be sure to face the flat side of washer toward drain collar. Install anti-rotation screw; it may not be possible to align the anti-rotation screw directly where it was installed in the previous drain plug assembly. Do not overtighten—over-tightening screw will reduce retention.
- Be aware: due to the design of the free-spinning cap, the cap will not sit flush with the drain collar. As long as the drain cap is fully tightened and the drain cap washer is in place correctly, the drain cap will not leak.
If this does not stop your drain plug assembly from leaking, you may want to file a warranty claim with Pelican or reach out to us to get a Pelican cooler replacement drain plug.
All of Your Pelican Cooler FAQs Answered
Do you have other burning Pelican cooler FAQs that you need answers for? Check out the Help Center for the answers to other questions. You can also reach out to us directly for answers to your questions. Send an email to sayhello@elitecooler.com or call 1-844-200-7354. We look forward to answering all of your questions about Pelican coolers!

