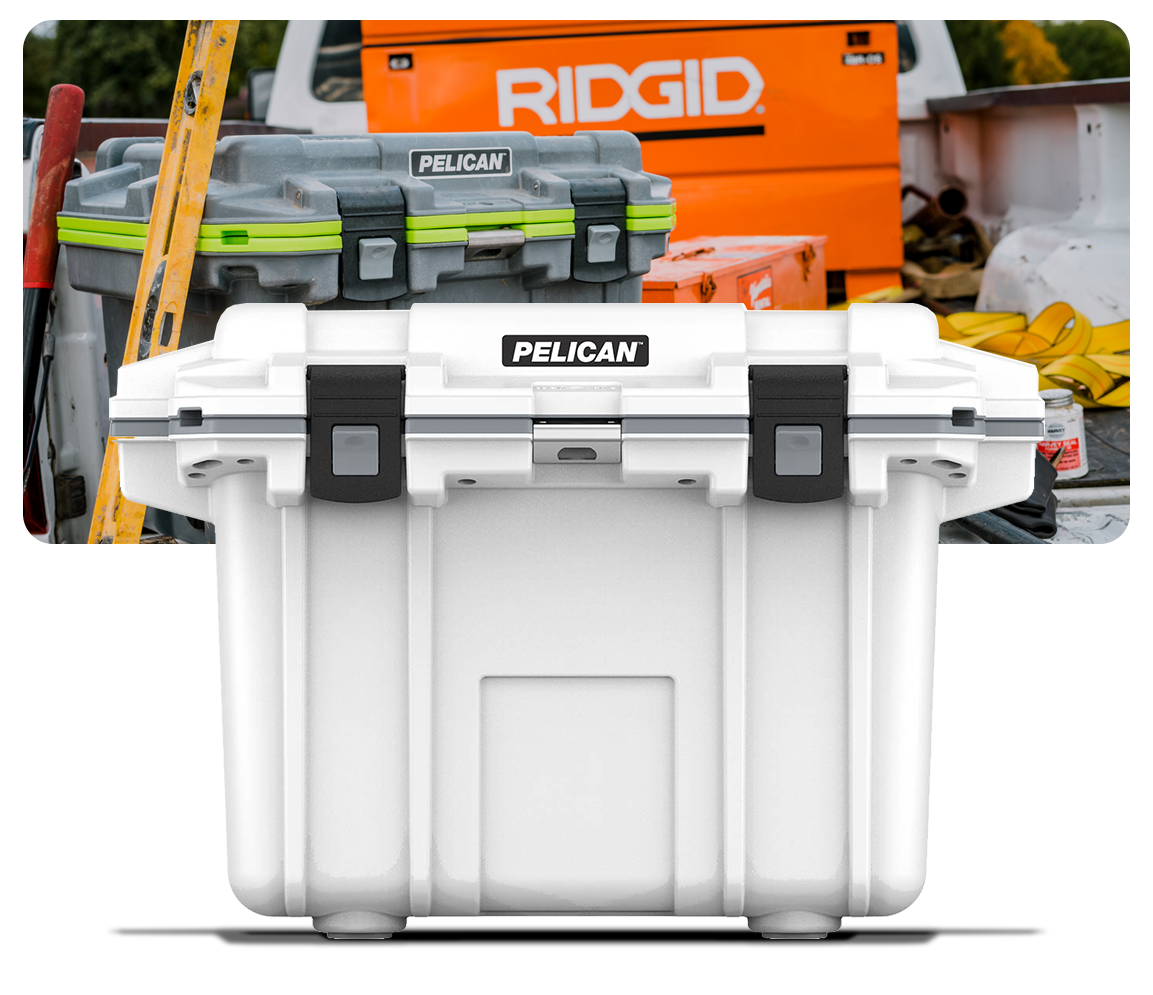

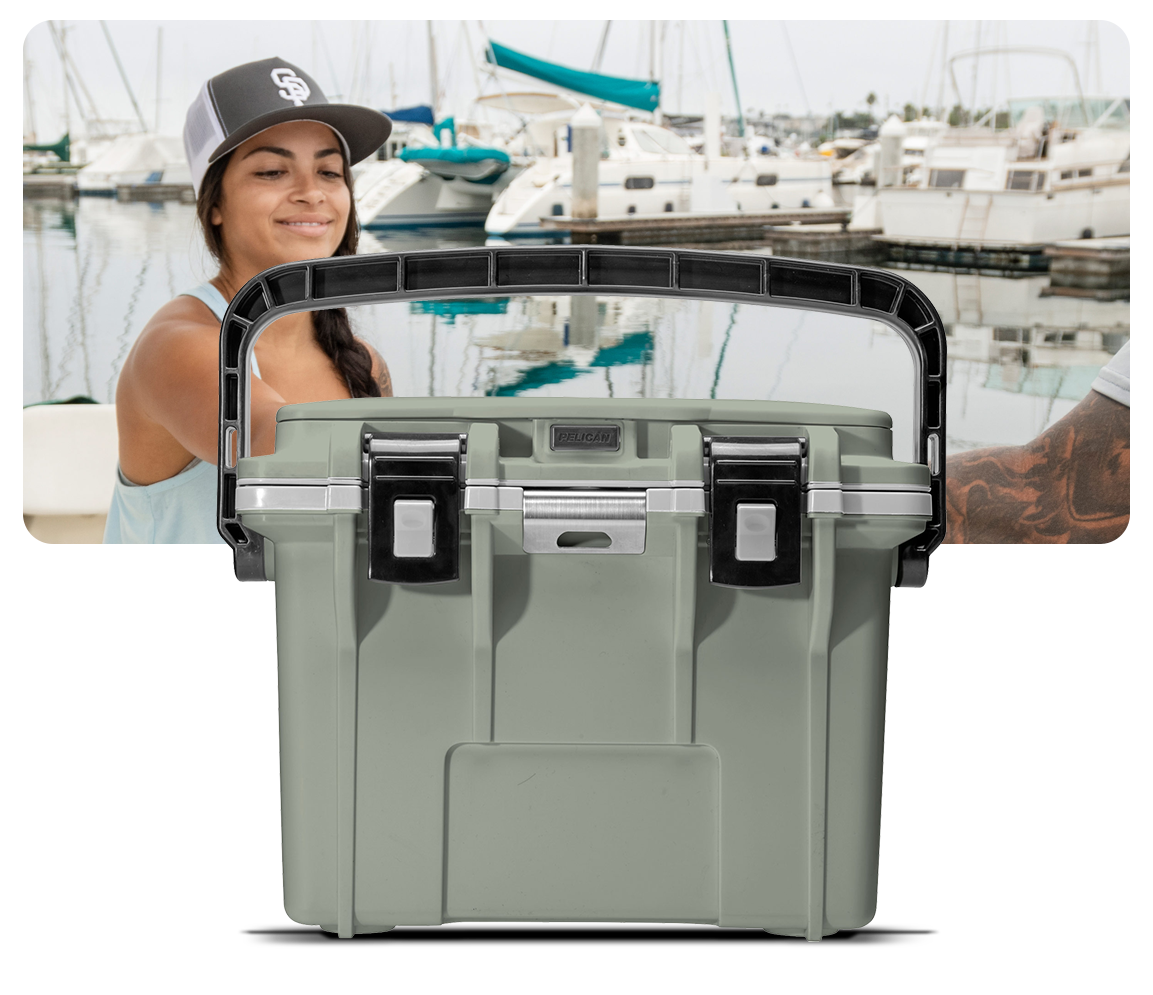


The delivery driver just dropped off a huge box on your porch with your new Pelican Elite Cooler inside. It’s just in time too, because you have a big camping trip this weekend. But you can’t just toss some ice and lukewarm sodas in your cooler and expect to get great performance! Knowing the best way to pack a cooler will make every adventure you go on better, whether you’re heading out camping or down to the beach or driving across the country.
Clean Your High Performance Cooler
Regardless of whether your high performance cooler is brand new or years old, the first step when you are ready to use your cooler is to clean it. The last thing you need is for mildew or mold to start growing inside your cooler while you’re using it. So break out the Dawn dish soap and give your cooler a thorough scrub before you pack it. Having a clean cooler to start with lets you focus on how to keep ice in your cooler longer and extend your adventure as long as possible.

How to Pre-Chill a Cooler
Your cooler may be clean, but that doesn’t mean it’s time to start packing it! Now it’s time for the most vital step in ensuring that your Pelican’s ice retention will be as long as possible: it’s time to pre-chill your cooler. The number one frequently asked question about Pelican Elite Coolers is if you have to pre-chill your cooler, and the answer is an emphatic YES! It cannot be overstated how important it is to know how to pre-chill your cooler, and to actually do it every time you use your cooler.
Bring your cooler inside the house 12–24 hours before you pack it. Depending on the size of your cooler, you’ll want to fill it with 10–20 pounds of sacrificial ice. As this sacrificial ice melts, it will cool down the thick layer of insulation in your high performance cooler. After you have pre-chilled your cooler, you can empty out the water from your cooler and start in on the actual packing!
Follow the 2:1 Ice Ratio
As you start to pack your cooler, be sure to follow the 2:1 ratio of ice to goods. You’ll always get the best ice retention from your cooler if you use this ratio. The best way to hit the 2:1 ice ratio when you pack your cooler is to use a combination of block ice and cubed ice. Knowing all about how to use ice in a cooler is key to knowing how to pack a cooler successfully.
Prep Before You Pack
If you’re in a rush, just throw everything in the cooler and get going! But if you have a little time, and you want to get the best ice retention, think a little about what the best way to pack your cooler might be. With a little prep work you can probably fit more into your cooler than you think and keep ice in your cooler longer at the same time!
Do Food Prep at Home
Don’t wait until you’re at the campsite to do food prep. Of all the cooler hacks you can do to increase your Pelican’s ice retention, prepping your food at home is the easiest. Here are a couple of easy food prepping ideas that will improve how you pack your cooler:
- Chop bulky fruits and vegetables—like peppers or melons—to save room in your cooler. You’ll also keep your food from getting bruised by the ice in your cooler.
- Leave the shells at home and put your eggs into a plastic bottle. That way they won’t get crushed in your cooler and you won’t have to deal with a soaking wet cardboard egg holder.
- Only bring what you need. Condiments can be transferred to smaller containers. Don’t pack a half-full bottle of ketchup that will take up a lot of the already limited space in your cooler. And you probably won’t need an entire bottle of salad dressing if you’ll only be adventuring for a weekend. Just make sure your smaller containers won’t leak!

Always Pack Your Cooler with Cold Goods
If your goal is to extend your Pelican’s ice retention as long as possible, then the absolute best way to pack your cooler is with cold goods. You shouldn’t put anything inside your cooler that hasn’t been chilled in the refrigerator first. Even better, freeze everything that you won’t be using immediately. This simple cooler hack turns frozen hamburgers, hot dogs, and water bottles into extra block ice at the start of your adventure. And they’re ready to use as soon as they’re thawed. No waste!
Keep Your Cooler Organized
No guide to how to pack a cooler would be complete without talking about cooler organization. It’s key for a couple of reasons. First, an organized cooler will hold more goods while following the 2:1 ice ratio. Second, an organized cooler is easy to find things in. Finally, in an organized cooler you don’t have to worry whether or not your bread will somehow migrate to the bottom of the cooler to become a sodden, flattened mess.
How to Pack Your Cooler in Layers
Packing your high performance cooler in layers is another great way to get the best ice retention. The layers in your cooler will create zones that go from really cold down at the bottom to chilled up at the top. Start your layers with block ice down at the bottom of your cooler. Then add any frozen goods and the goods you need to keep very cold, like raw meat. Now pour a layer of ice cubes over everything, making sure that they are packed into every crevice. You want to leave as little empty space behind. The less air you have flowing around in your cooler, the longer you’ll keep ice in your cooler. Next add your drinks—beers, sodas, water bottles—followed by another layer of ice cubes. Then add your fruits, veggies, and cheese, and top them off with another layer of ice cubes. The final layer is for bread, eggs (if you decide to leave them in their shells), and other delicate items. Sprinkle one final layer of ice cubes on top of your goods to minimize airflow as much as possible, and then close the lid!

Organize Your Cooler with the Right Accessories
Layers aren’t the only way to organize your cooler though. There are some awesome accessories available that will help you find the best way to pack your cooler. They can be used to help organize the layers in your cooler or to create entirely new set-ups in your cooler.
Put a Dry Rack Basket in Your Cooler
Dry rack baskets are available for most high performance coolers, and they are stellar at protecting your delicate goods from getting wet or being crushed. A dry rack basket is the ideal place for bread and eggs in your cooler. Another big bonus that a dry rack basket provides is that the whole basket can be removed to give you easy access to what’s beneath it. This means you’re not spending as much time digging around in the cooler and will increase your Pelican’s ice retention. And when you put the dry rack basket back in the cooler, it’s still organized the way you had it.
How to Pack a Cooler Using a Cooler Divider
A cooler divider is great for splitting your cooler into separate areas that you can pack in different ways. You can pack the food in layers, but then just have the drinks buried in ice cubes to keep them nice and cold. Another common cooler hack is to organize the food in the cooler by when you will eat it. One side is for morning and snacks, and the other is for lunch and dinner. Or if you’re going on a two day trip, each side is dedicated to one day. The Adventure Ready Camp Cutting Board + Cooler Dividers also pull double duty as both a cutting board and a cooler divider, so they are always useful!
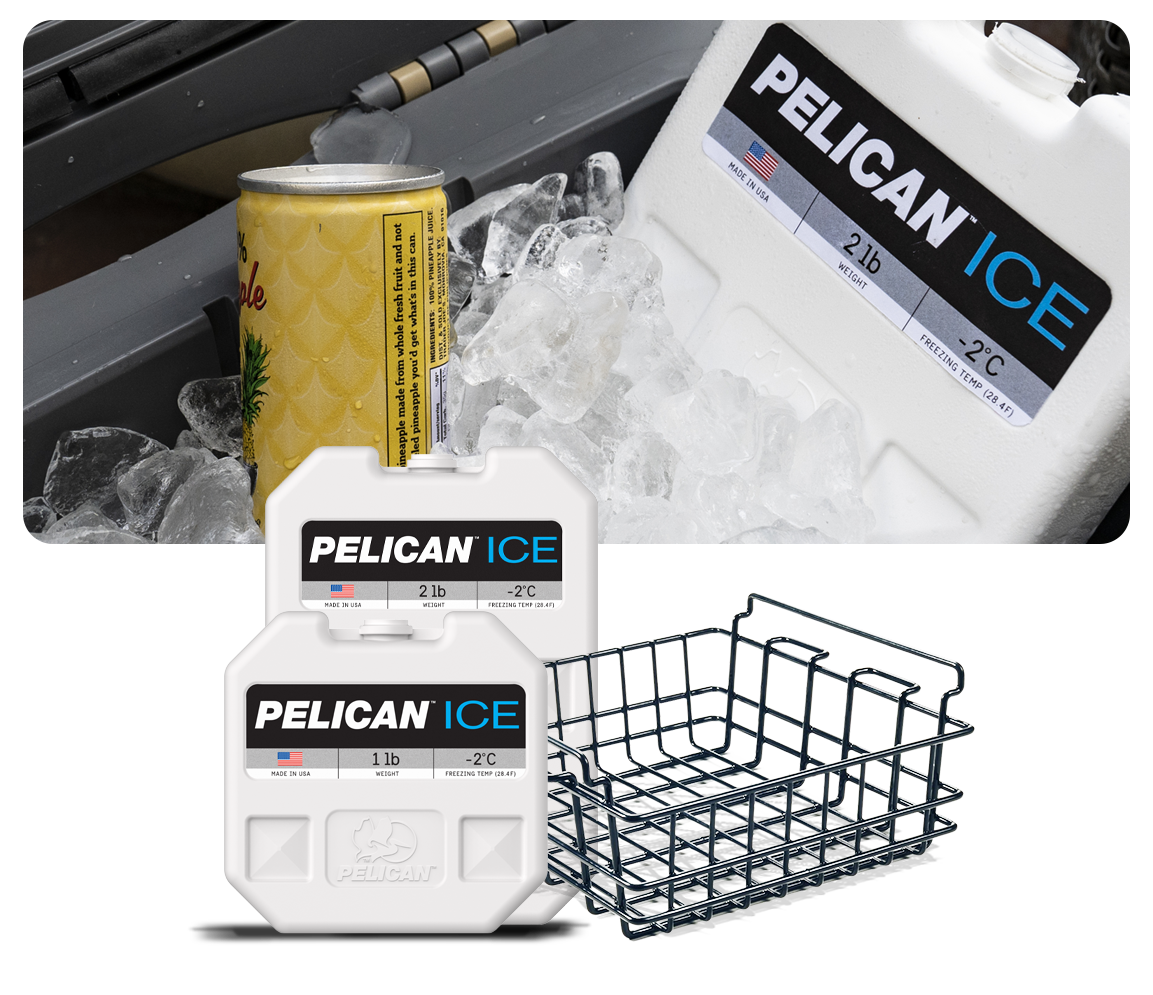
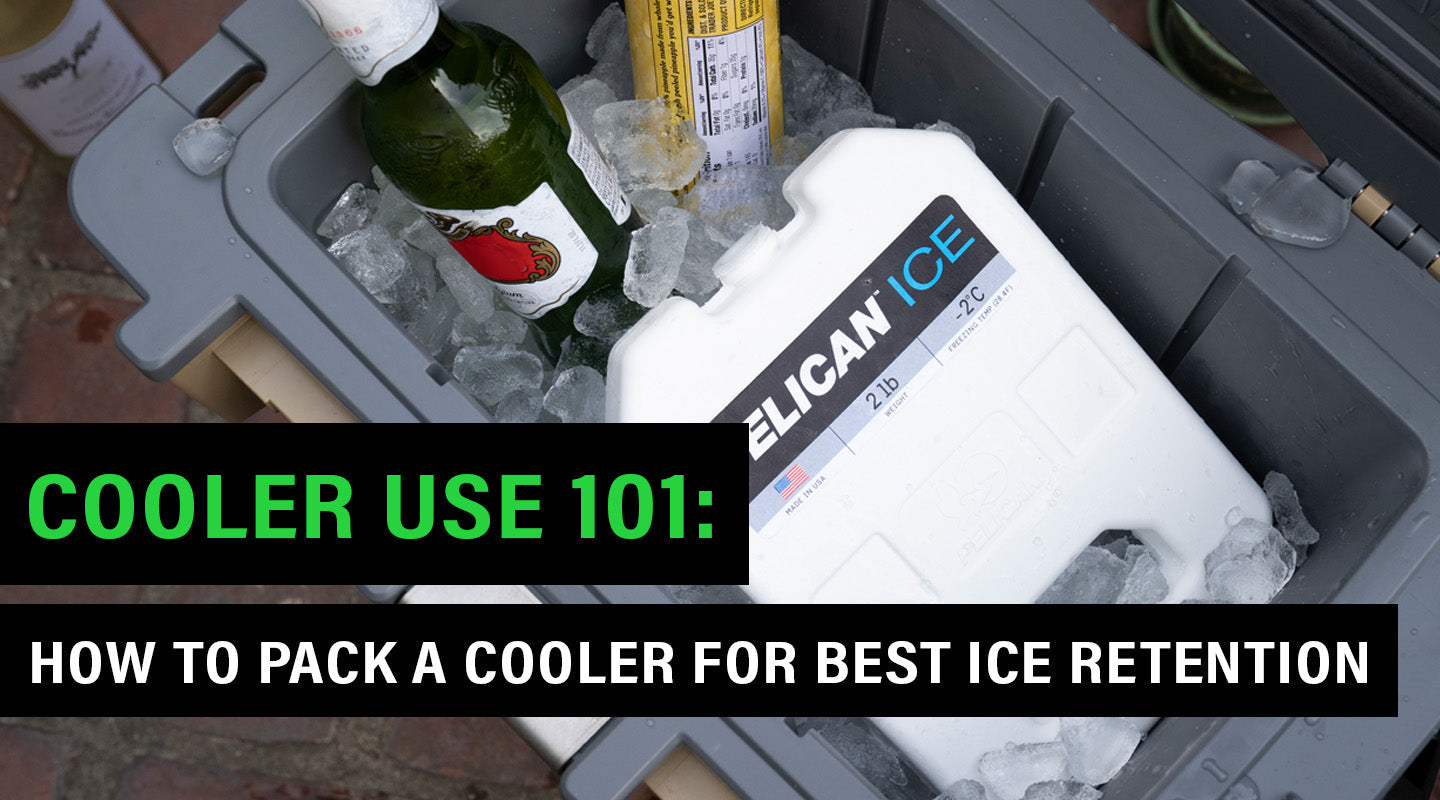
Extend Your Pelican's Ice Retention with Pelican Ice
If you need help hitting the 2:1 ice ratio, then using reusable ice packs can be a great way to do it. Ice packs can take the place of block ice in your cooler, but unlike block ice a reusable ice pack won’t leave a watery mess behind when it thaws. Pelican Ice is designed specifically to fit inside Pelican Elite Coolers and freezes at 28°F, so it will always give you the best ice retention in your cooler.
The Best Way to Pack a Cooler is the Way You Choose to Pack It
Knowing how to pre-chill a cooler and how to keep ice in a cooler longer and which cooler hacks to use is just part of the picture when it comes to packing a cooler. There is no one right way to pack a cooler. You have to put all of this information to use and experiment to see what gives you the best ice retention with the way you use your cooler. That way you’ll find the way to pack your cooler that works best for you and your adventures. Because at the end of the day, your adventure should be the thing that matters most. So get out there and enjoy it!