


If you’re really putting your high performance cooler through its paces, then it’s only a matter of time before you manage to get it dirty. If you’re lucky, that just means lots of mud on the outside of the cooler. But there are other ways your cooler could have gotten dirty: maybe you filled it with fish on a fishing trip, or you went camping and a food container wasn’t closed properly and leaked, or someone spilled a can of soda inside during a cookout. After any of these events, knowing how to clean your cooler will ensure that you are able to keep using it without any problems for a long time to come. It only takes a little time to put in the cooler care necessary to keep your high performance cooler in tip-top shape so that you get the best performance from it.
Cooler Care for Pelican Coolers
The great thing about learning how to clean a Pelican cooler is that it is pretty simple. Of course, the information in this guide is also applicable to how to clean YETI, RTIC, and other high performance coolers. Start by gathering a few supplies:
- Water (most likely from a hose)
- Sponge/Scrub Brush (do not use steel wool or abrasive scouring pads on your cooler)
- Dish detergent
- Baking soda (optional)
- Bleach (extra, extra optional; not recommended for soft coolers)
- Vanilla extract (optional)
Once you’ve gathered your supplies, you need to know when to clean your cooler: before and after every adventure! This might seem like a lot of work, but you’ll enjoy your adventures more knowing your cooler was clean and fresh from the start. And if you put in the effort to clean it really well after every adventure, then cleaning it before should be a piece of cake.
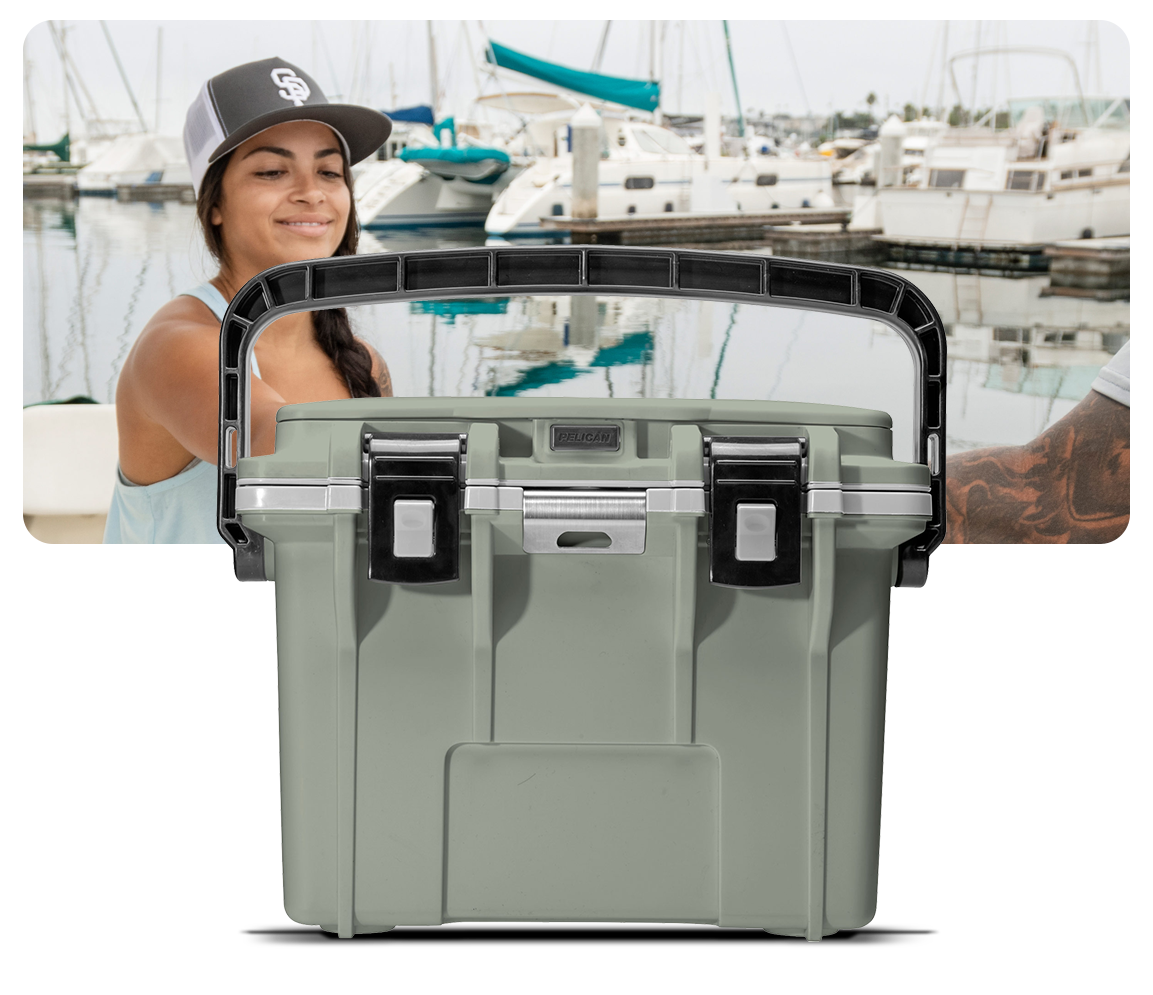
How to Clean Your Hard-Sided Cooler

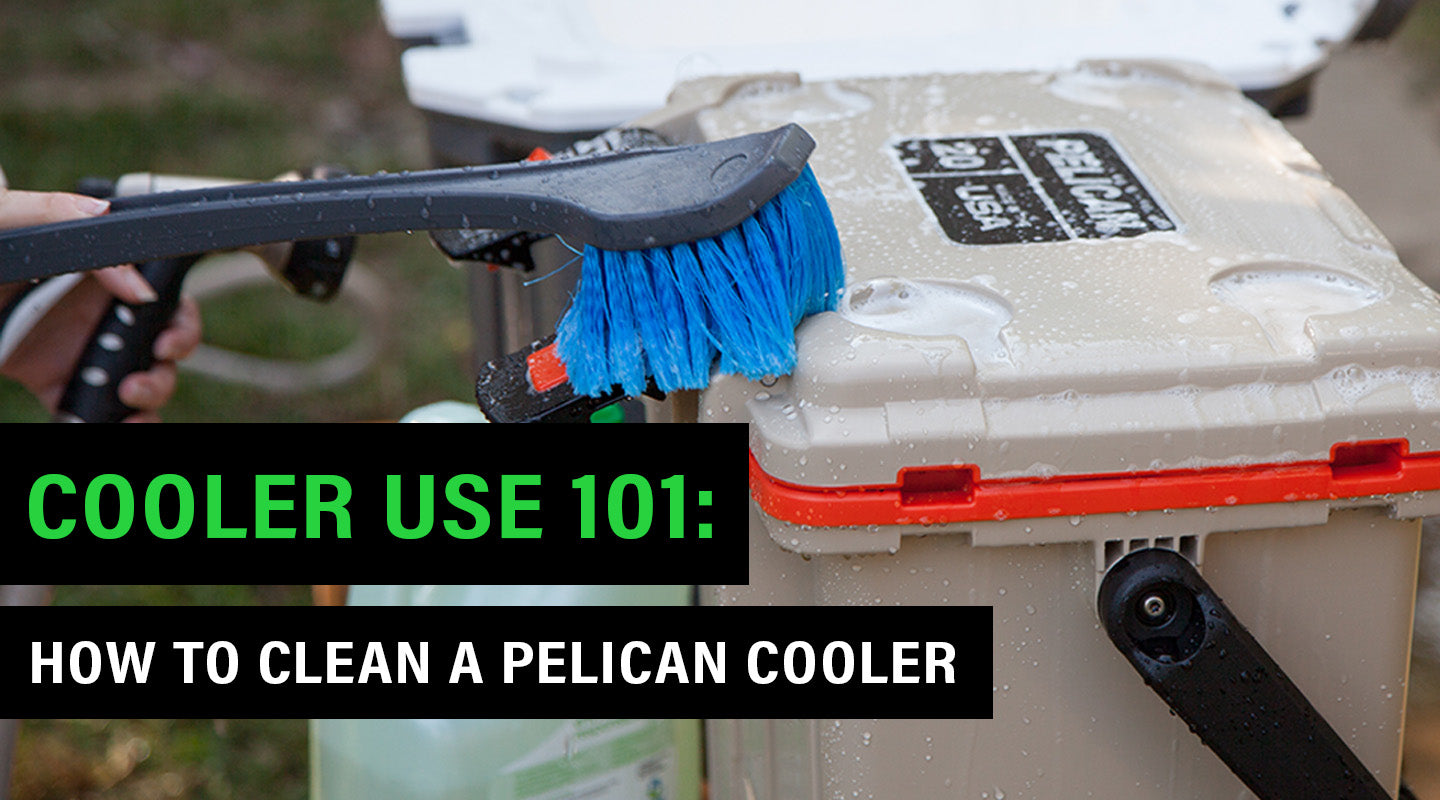
Unless you have a truly enormous sink, you’ll be washing your hard-sided Pelican cooler outside. Pour in some detergent and then use your hose to add water to the cooler. There’s no need to fill it all the way up. Use your sponge or scrub brush to work the soapy water into all the corners and grooves of the cooler’s interior. You should also use your soapy sponge to wipe down the exterior of the cooler.
If the gasket in your hard-sided Pelican cooler needs to be cleaned, it’s the work of a moment to pull it out of the groove it sits in. Dunk it down into the soapy water in the cooler and give it a deep clean. Leave the gasket out in the sun to dry all the way out—all the little nooks in the gasket are the perfect home of mold if there is any moisture left. Once the gasket is fully dry, you can easily press it back into the groove. Just be sure to leave a little gap in the gasket to act as a pressure release when you’re using your cooler.
Now that you’ve scrubbed your cooler down, it’s time to empty it out and give it a good rinse! Make sure to remove all the soap, inside and out. Every hard-sided cooler from the 30QT Elite Cooler all the way up to the massive 250QT Elite Cooler has a drain plug with a tethered cap that makes it easy to empty the cooler and rinse it out. Hard-sided coolers that are smaller than the 30QT won’t have this drain plug, but their small size makes them easy to move around while you’re rinsing them out. Once all the soap is gone, leave your cooler open to dry out before you put it away.
Cooler care complete!
Tips for Cleaning Extra Tough Messes
Is your cooler extra crusty? Maybe a little moisture got trapped inside between uses. Or something that spilled left a light stain. Don’t fret! You can still get it super clean.
After you’ve cleaned your cooler with dish detergent, break out the baking soda. Sprinkle a layer of baking soda over the damp interior of your cooler. If you need to, add a little water to create a paste that you can scrub your cooler with. Baking soda will be abrasive enough to clean up any crusty messes and work up light stains without leaving marks on your cooler. Once you’ve finished your scrubbing, rinse out your cooler again. Be thorough so you get all the baking soda out before you leave the cooler to dry.
Sometimes, it’s important to take extra steps to make sure your cooler is both clean and sanitized. Once your cooler is fully cleaned, sanitize your cooler’s interior (and exterior if necessary) with a dilution of 1/3 cup of bleach in 1 gallon of water. Then let your cooler dry out again. A few notes on using bleach safely:
- Nevermix bleach with ammonia or other cleaners!
- Always wear protective (nonporous) gloves and eyewear when using bleach.
- Always use bleach in a well-ventilated area and try not to inhale the fumes.
How to Clean Your Soft Cooler

When it’s time to clean your soft cooler, you’ll want to follow the same basic steps as you would with a hard-sided cooler. It will probably still be easiest to clean outside, but a smaller soft cooler may fit in a really big sink. Pelican soft coolers are tough, but they’re not as tough as the hard-sided coolers. That makes it particularly important to use a sponge that won’t scratch or damage the material the soft cooler is made of. If your cooler needs a little more cleaning power, stick with baking soda. But don’t use bleach to clean your soft cooler. Bleach could have a negative impact on the fabric of the cooler or the thread that keeps it together.
How to Clean Your Cooler Accessories

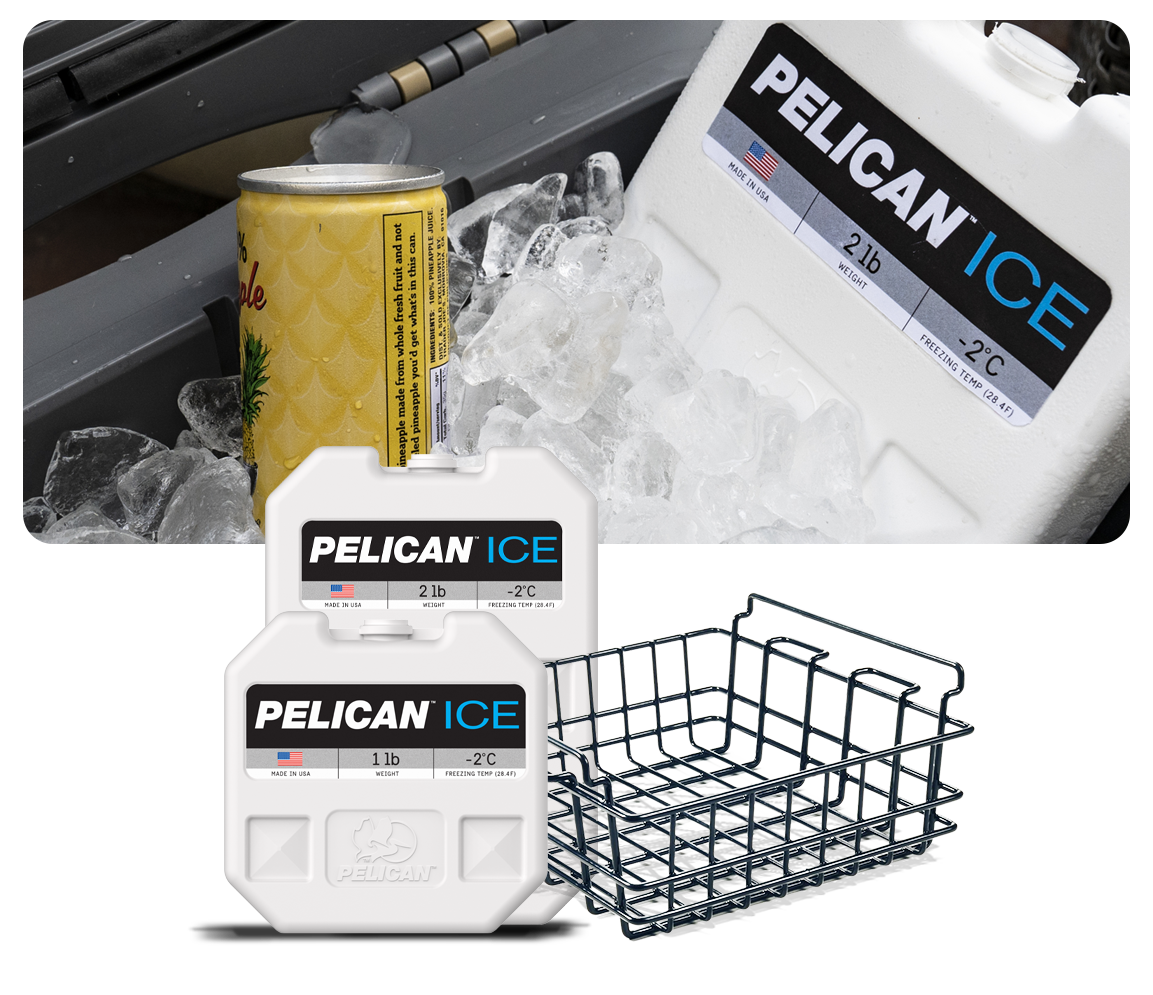
If you’re using accessories to get the best from your high performance cooler, then you should also make sure to keep those accessories clean between adventures. You can clean the accessories you use inside your cooler—like Pelican Ice, dry rack baskets, and cooler dividers—with detergent in your kitchen sink. Dishwashers are not recommended for these items. Store Pelican Ice packs in your freezer so they’re ready to be used at a moment’s notice. Dry rack baskets and cooler dividers can be stored inside the cooler once they are fully dry.
How to Store Your Cooler Between Adventures
In between your adventures, here are a few things you can do while storing your cooler to keep it in the best shape. If you want to keep your cooler smelling pleasant between uses, put a few drops of vanilla extract (or another extract you enjoy the scent of) on a paper towel and wipe down the interior of your cooler. When you’re ready to put your cooler away, put it somewhere dry and cool. And remember to always store your cooler with the lid shut and the latches fully latched. Propping the lid open, especially using the latches to do so, risks causing damage to the cooler (or more likely the latches) if something were to fall down on top of it. If you’re concerned about moisture potentially building up in your cooler, leave the cap off the drain plug. After all, the cap is tethered on so you won’t have to worry about losing it. But the gap in your cooler’s gasket should be sufficient for this in most cases.
Now You Know How to Clean a Pelican Cooler
Now that you know how to clean a cooler, you can be sure that no one will ever pause in the middle of pulling a drink out to ask what that funky smell is. The more you put into your cooler care, the longer your high performance cooler will last and the better it will perform. So keep your cooler in the best shape and keep enjoying it for years to come!